Easy Homemade Blackberry Jam Recipe (The Only One You Need!)
Learn how to make the best homemade blackberry jam with just 4 simple ingredients. This easy recipe is perfect for beginners and full of vibrant flavor.
cookwithyara.com/recipes/blackberry-jam-recipe
There's a special kind of magic that happens in the kitchen when you decide to make something from scratch that you usually buy. It’s a small act of reclamation, a way of connecting with your food on a deeper level. For me, nothing captures this feeling more than making jam. We’ve become so accustomed to the rows of uniform jars in the supermarket that we’ve almost forgotten the incredible, vibrant flavor of fruit preserved at its peak. This homemade blackberry jam recipe is your invitation back to that real, unadulterated taste. It’s a world away from the overly sweet, one-note jellies you might be used to.
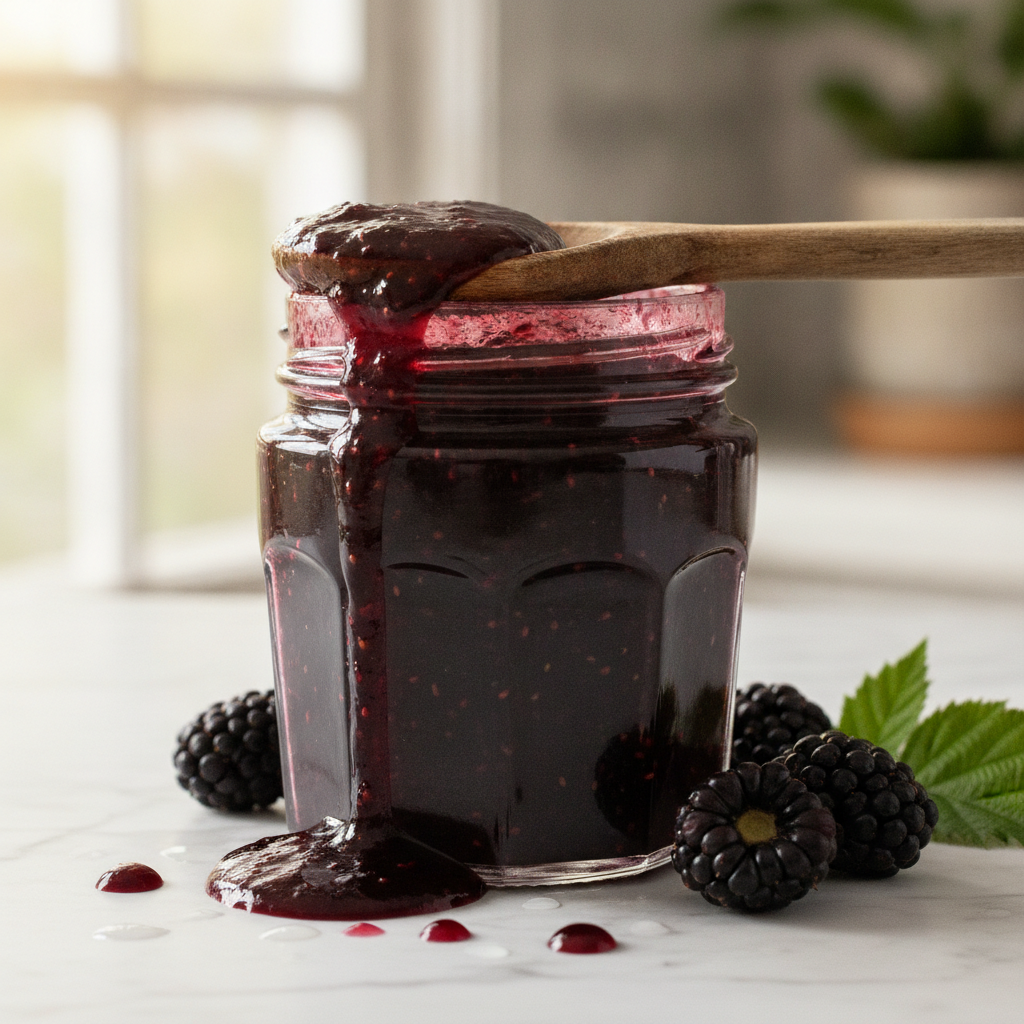
The beauty of this recipe lies in its simplicity and its spectacular results. We’re not just making a spread; we’re capturing the essence of late summer in a jar. Imagine a jam so deeply purple it’s almost black, bursting with the complex, tart-sweet flavor of sun-ripened blackberries. The standout element here is the texture—it's luscious and rich, with just enough body from the natural pectin to be satisfyingly spreadable without being stiff. This isn’t just about making food; it’s about preserving a moment. My promise to you is a simple, foolproof method that yields a delicious, authentic blackberry jam recipe you’ll be proud to share and savor.
Why This Homemade Jam is Simply Better
When we talk about food, especially treats like jam, the conversation often steers towards health. While jam is certainly an indulgence, making your own gives you complete control, which is a powerful tool for mindful eating. Unlike many commercial brands that rely on high-fructose corn syrup, artificial preservatives, and colorings, this homemade blackberry jam recipe uses only four simple, honest ingredients: fruit, sugar, lemon juice, and fruit pectin. You know exactly what’s in every spoonful. This is about choosing quality over convenience, flavor over fillers. It’s a small luxury that feels wholesome and satisfying in a way that mass-produced products rarely do.
Blackberries themselves are nutritional powerhouses. They are packed with vitamins C and K, manganese, and an impressive amount of fiber. Most notably, they are rich in anthocyanins, the antioxidants responsible for their deep, dark color. While the cooking process does change the nutritional profile, some of these wonderful compounds remain. By making your own jam, you are starting with a base of pure, whole fruit. Sugar, in this context, isn't just a sweetener; it’s a crucial preservative that has been used for centuries to keep fruit safe and delicious long after its season has passed. It works by drawing water out of the fruit and any potential microorganisms, creating an environment where they cannot thrive. This recipe offers a moment of pure, unadulterated sweetness that, when enjoyed in moderation on a slice of whole-grain toast or swirled into plain yogurt, can be a joyful part of a balanced life. It’s about celebrating the fruit, not hiding it under a mountain of artificial additives.
The Ingredient Lineup
The ingredient list for this blackberry jam recipe is refreshingly short, allowing the star of the show—the blackberries—to shine. Each component plays a critical role in creating the perfect texture and flavor. First, the blackberries. You can use fresh or frozen berries for this recipe. If you’re using fresh, look for plump, dark, and firm berries. If they’re mushy, they’re past their prime for jam. If using frozen, there's no need to thaw them first; they’ll break down beautifully as they cook. The berries provide the flavor, color, and much of the natural pectin.
Next is granulated sugar. Sugar is essential for both sweetness and preservation. It balances the natural tartness of the blackberries and is vital for helping the jam to set properly and remain shelf-stable. While you can find low-sugar recipes, this classic version uses a traditional ratio that guarantees a beautiful gel and long life. Lemon juice is our third key ingredient. Its importance cannot be overstated. The acidity in the lemon juice brightens the flavor of the blackberries, preventing the jam from tasting flat or overly sweet. More importantly, it lowers the pH of the mixture, which is necessary to activate the pectin and achieve a proper set. Always use freshly squeezed lemon juice for the best flavor. Finally, we use fruit pectin. While blackberries have some natural pectin, adding a little extra ensures a consistent, reliable set every time. I recommend using a natural, powdered fruit pectin derived from sources like apples or citrus peels to keep this recipe simple and pure. It’s the secret to a perfect gel without having to cook the jam for hours, which can dull the fresh fruit flavor.
Putting It Together
The process of creating this beautiful blackberry jam recipe is as rewarding as the final product. It’s a sensory journey that starts with the simple act of combining the fruit and sugar. We begin by gently crushing the blackberries in a large, heavy-bottomed pot. This initial step, known as maceration, encourages the berries to release their natural juices, which then dissolve the sugar, creating a rich, gorgeous syrup before you even turn on the heat. This brief resting period is crucial for coaxing out the maximum flavor from the fruit.
Once the fruit has macerated, the cooking begins. You’ll bring the mixture to a rolling boil, stirring frequently to prevent sticking. This is where the magic happens. As the mixture heats, you'll see it transform. The color will deepen into a stunning, dark purple, and the aromas of cooked fruit will fill your kitchen. After adding the lemon juice and pectin, you’ll continue to boil the jam until it reaches its setting point. This is the most crucial stage. The texture will change from a thin syrup to something more viscous and glossy. You’ll notice the bubbles become slower and thicker. Skimming off any foam that rises to the surface ensures a crystal-clear jam. The final step is carefully ladling the hot jam into sterilized jars, where it will cool and set into the perfect, spreadable consistency. It’s a simple, rhythmic process that connects you directly to the traditions of preserving the harvest.
Customizing Your Blackberry Jam
One of the greatest joys of making your own jam is the ability to tailor it to your exact preferences. This classic blackberry jam recipe is a fantastic canvas for your culinary creativity. The most common way to customize is by introducing complementary spices and herbs. A single cinnamon stick or a star anise pod added to the pot during cooking will infuse the jam with a subtle, warm spice that is absolutely beautiful for cooler months. For a more unique, slightly savory twist reminiscent of Mediterranean flavors, consider adding a sprig of fresh rosemary or thyme while the jam simles. Just be sure to remove the sprig or spices before jarring. A vanilla bean, split lengthwise, will add a creamy, fragrant depth that pairs wonderfully with the tartness of the berries.
Beyond flavor, you can also adjust the texture. If you prefer a smoother, seedless jam, you can press the cooked blackberry mixture through a fine-mesh sieve before adding the pectin and doing the final boil. This takes a bit more effort but results in a velvety, refined jam. Conversely, if you love a chunkier, more rustic texture, you can leave the berries whole or only lightly crush them at the beginning. You can also experiment with different sweeteners, but be mindful that changing the sugar type or amount can affect the set and shelf life. For a reliably lower-sugar version, it’s best to seek out a specific low-sugar or no-sugar-needed pectin and follow the package instructions, as the ratios will be different. This adaptability is what makes a homemade blackberry jam recipe so special—it can be exactly what you want it to be.
Preserving and Storing Your Jam
Once you’ve created your delicious batch of blackberry jam, proper storage is key to enjoying it for weeks or even months to come. You have a few excellent options depending on how long you want it to last. The simplest method is to make it a refrigerator jam. Once you’ve filled your clean jars with the hot jam, simply let them cool to room temperature, then screw on the lids and store them in the refrigerator. Stored this way, the jam will be safe and delicious for up to a month. This is a great choice if you’ve made a small batch that you know you’ll enjoy quickly.
For long-term, shelf-stable storage, water bath canning is the traditional and most reliable method. This process involves sterilizing your jars and lids in boiling water before filling them. After filling the hot jars with hot jam, leaving a small amount of headspace at the top, you’ll wipe the rims, apply the lids, and tighten the screw bands until just finger-tight. The sealed jars are then lowered into a large pot of boiling water, ensuring they are covered by at least an inch of water, and processed for about 10 minutes. This boiling process forces the air out of the jars, and as they cool, a vacuum seal is created, which is indicated by a satisfying ‘pop’ sound from the lid. Properly canned jam can be stored in a cool, dark place for up to a year, allowing you to enjoy the taste of summer blackberries any time you wish. A third option is freezing. You can ladle the cooled jam into freezer-safe containers or jars (leaving headspace for expansion), and it will keep beautifully in the freezer for up to a year. This is a fantastic alternative for those who don’t want to go through the canning process but still want to preserve their homemade blackberry jam recipe for the long term.
Serving Suggestions and Complete Meals
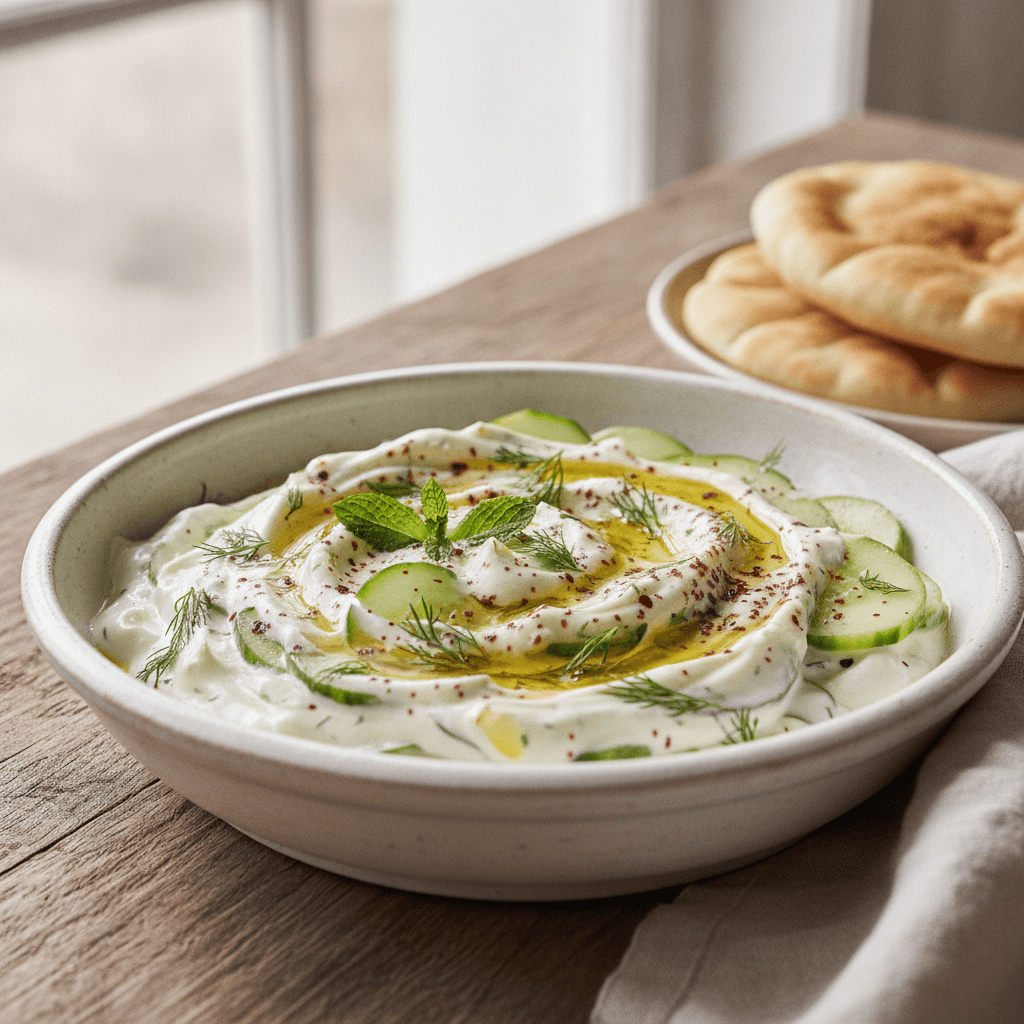
While the most classic use for a perfect blackberry jam recipe is generously spread over a warm piece of toast or a flaky scone, its uses extend far beyond the breakfast table. Think of it as a flavor-packed condiment that can elevate both sweet and savory dishes. Swirl a spoonful into a bowl of creamy Greek yogurt or warm oatmeal for an instant upgrade. Use it as a vibrant topping for pancakes, waffles, or a simple vanilla cheesecake. In my kitchen, I love to bring a touch of the Mediterranean to my meals, and this jam is a surprisingly wonderful partner.
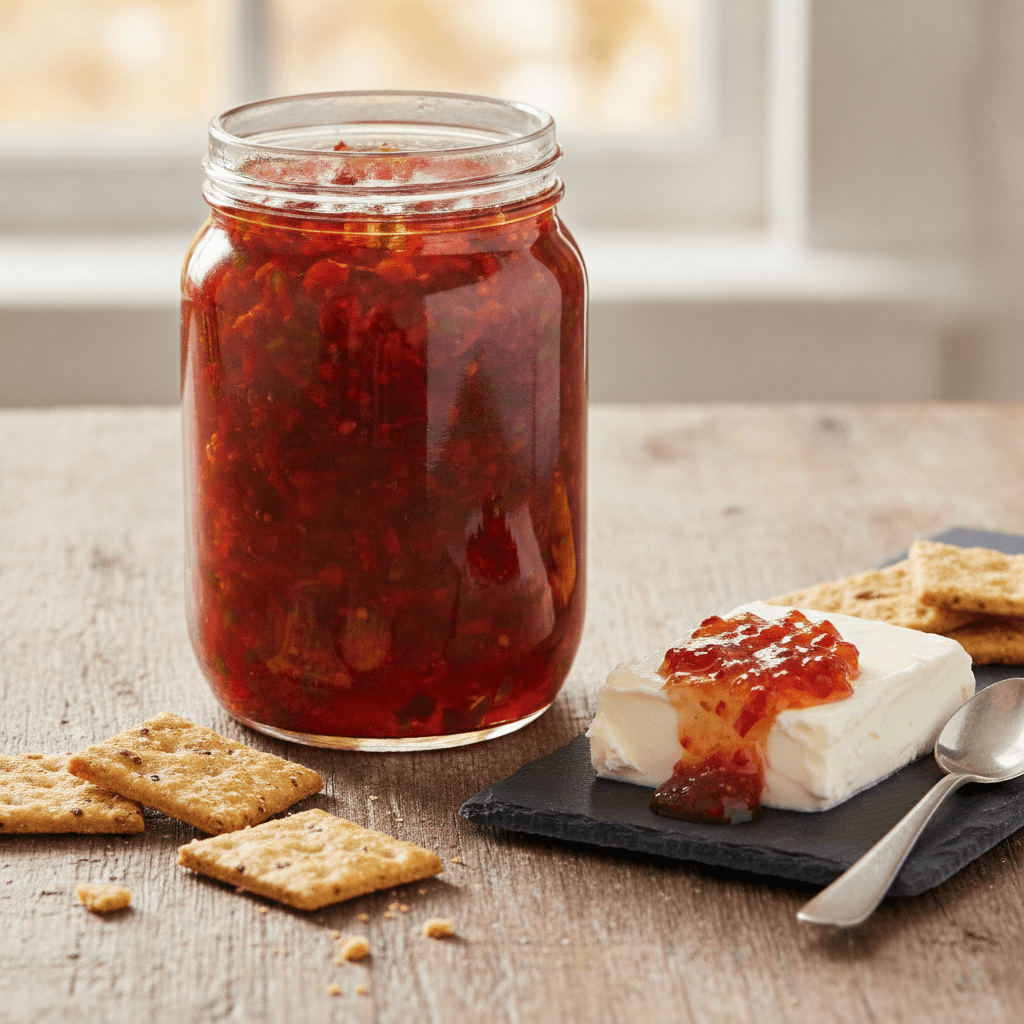
For a truly special appetizer, spoon a bit of blackberry jam over a wheel of warm baked brie and serve with crackers and nuts. It also makes a fantastic glaze for roasted chicken or meatballs; the sweetness caramelizes beautifully and balances savory flavors. You can even whisk a small amount into a vinaigrette with olive oil and balsamic vinegar to create a fruity, complex dressing for a spinach and goat cheese salad. A jar of homemade jam is a versatile powerhouse, ready to add a burst of bright, fruity flavor to any meal, transforming the simple into something truly special.
Frequently Asked Questions
How can I tell when my jam is set?
The most reliable way is the freezer plate test. Before you start cooking, place a few small plates in your freezer. When you think the jam is ready, spoon a small amount onto a cold plate and return it to the freezer for 1-2 minutes. If the jam wrinkles when you push it with your finger, it’s ready. If it’s still runny, continue boiling for a few more minutes and test again.
Can I use frozen blackberries for this recipe?
Absolutely! Frozen blackberries work wonderfully in this blackberry jam recipe. There's no need to thaw them beforehand; simply add them to the pot and they will break down as they cook. This is a great way to make delicious jam all year round, even when blackberries are not in season.
My jam is too runny. How can I fix it?
If your jam hasn't set after cooling completely, don't worry, it's salvageable. Pour the jam back into the pot, bring it to a boil, and add a little more pectin (mixed with a tablespoon of sugar to prevent clumping) or more lemon juice to help activate the existing pectin. Boil for another 5-10 minutes and perform the freezer plate test again before re-jarring.
Why is adding lemon juice so important?
Lemon juice serves two crucial purposes. First, its acidity brightens the overall flavor of the jam, cutting through the sweetness and making the blackberry taste more vibrant. Second, pectin requires an acidic environment to activate and create a proper gel. The lemon juice lowers the pH of the mixture, ensuring your jam sets up perfectly.
Can I reduce the amount of sugar in this recipe?
This specific recipe relies on the given sugar ratio for proper setting and preservation. Drastically reducing the sugar without making other adjustments will likely result in a runny, syrup-like consistency that won't be as shelf-stable. If you want a lower-sugar jam, I recommend finding a recipe that specifically uses a low-sugar or no-sugar-needed pectin, and follow those instructions carefully as the method will be different.
How long will my homemade blackberry jam last?
If you follow the water bath canning instructions, the sealed jars will last for up to one year in a cool, dark place like a pantry. If you opt not to can it (refrigerator jam), it will last for up to 1 month in the refrigerator. Once any jar is opened, it should be stored in the refrigerator and consumed within a few weeks.
Simple Homemade Blackberry Jam
A classic and easy blackberry jam recipe that captures the vibrant flavor of fresh berries. Perfect for beginners, with options for both canning and refrigeration.
Prep Time
20 min
Cook Time
35 min
Total Time
55 min
Servings
4 half-pint (8 oz) jars
Ingredients
For 4 half-pint (8 oz) jars
- 4 cups fresh or frozen blackberries (about 20 ounces)
- 2 cups granulated sugar
- 1/4 cup freshly squeezed lemon juice (from about 1 large lemon)
- 1 packet (1.75 oz) powdered fruit pectin
Instructions
- 1
Prepare Jars and Lids
If canning for long-term storage, wash 4 half-pint jars, lids, and bands in hot, soapy water. Place the jars on a rack in a large pot, fill with water to cover, and bring to a boil. Reduce heat and let simmer to keep them hot. Place lids and bands in a small saucepan of simmering (not boiling) water.
- 2
Prepare the Fruit
Rinse fresh blackberries thoroughly. In a large, heavy-bottomed pot or Dutch oven, add the blackberries. Use a potato masher or the back of a large spoon to gently crush about half of the berries to release their juices.
- 3
Macerate Berries with Sugar
Pour the granulated sugar over the crushed blackberries. Stir gently to combine. Let the mixture sit for 10-15 minutes. This process, called maceration, allows the sugar to draw out the juices and begin to dissolve.
- 4
Add Pectin and Lemon Juice
Stir the powdered fruit pectin and fresh lemon juice into the blackberry and sugar mixture. Continue stirring until the pectin is fully dissolved and there are no lumps.
- 5
Cook the Jam
Place the pot over medium-high heat and bring the mixture to a full rolling boil that cannot be stirred down. Stir constantly to prevent the jam from scorching on the bottom of the pot.
- 6
Boil for One Minute
Once at a full rolling boil, continue to boil hard for exactly 1 minute, stirring continuously. This step is crucial for activating the pectin to ensure a proper set.
- 7
Skim the Foam
Remove the pot from the heat. Use a metal spoon to carefully skim off any foam that has formed on the surface of the jam. This will result in a clearer, more beautiful final product.
- 8
Fill the Jars
Carefully ladle the hot jam into your prepared hot jars, leaving 1/4-inch of headspace at the top. A canning funnel makes this process much cleaner and safer.
- 9
Clean and Seal Jars
Wipe the rims of the jars with a clean, damp cloth to remove any drips. Center the hot lids on the jars and screw on the bands until they are finger-tight. Do not overtighten.
- 10
Process in Water Bath (for Canning)
Using a jar lifter, carefully place the sealed jars into the pot of simmering water. Ensure the jars are covered by at least 1-2 inches of water. Bring to a rolling boil and process for 10 minutes. If skipping canning, let jars cool and then refrigerate.
- 11
Cool and Check Seals
After processing, turn off the heat and let the jars rest in the hot water for 5 minutes. Carefully remove the jars and place them on a towel-lined countertop. Let them cool undisturbed for 12-24 hours. You should hear a 'pop' sound as they seal. Check the seals by pressing on the center of the lid; if it doesn't flex, the jar is sealed.
Nutrition Facts
Per serving (estimated)
45 calories
Calories
12g
Carbs
0.1g
Protein
0g
Fat
0.5g
Fiber
1mg
Sodium
11g
Sugar