The Ultimate Cherry Cobbler Recipe
Discover how to make the perfect cherry cobbler! This guide has a foolproof recipe for a bubbly, sweet-tart filling and a golden biscuit topping.
cookwithyara.com/recipes/cherry-cobbler-recipe
There are some desserts that feel like a warm embrace, a sweet and simple comfort that transcends seasons and cultures. For me, a bubbling, beautiful cherry cobbler is the pinnacle of this kind of heartfelt cooking. It’s a dish that celebrates the pure, unadulterated flavor of fruit, cradled under a blanket of soft, buttery biscuit dough. The aroma alone—of baked cherries, warm butter, and caramelized sugar—is enough to make any kitchen feel like the heart of the home. This isn't a fussy, multi-layered cake that demands perfection. Instead, a cobbler’s charm lies in its rustic imperfection; the way the deep ruby juices bubble up and stain the golden topping, the slightly uneven, 'cobbled' look of the biscuits. It speaks of generosity and gatherings.
I first encountered a truly magnificent version of this dessert not in my own kitchen, but at a bustling farmers' market cafe, where it was served in giant cast-iron pans, still warm from the oven. The balance was exquisite—intensely flavorful cherries that were tart and sweet, not cloying, and a topping that was impossibly tender. It was a revelation. It made me realize that while this is a simple concept, mastering the perfect cherry cobbler recipe requires a little understanding and care. It’s a commitment, from pitting the fresh cherries (or choosing the best frozen ones) to getting the biscuit texture just right. But I promise you, every moment is worth it. This guide is my love letter to this humble dessert, designed to walk you through every step so you can create a truly spectacular cherry cobbler that will have everyone asking for the recipe.
The Origins and History of Cobbler
While the concept of baking fruit with a topping is ancient and widespread, the cobbler as we know it today has its roots firmly planted in early American history. It’s a resourceful dessert, born from necessity and ingenuity. As settlers moved across the continent, they often lacked the refined ingredients like fine flour or the specific ovens and pans needed for traditional British pies and puddings. They had to adapt, using what was available.
Instead of a delicate pie crust, they created simple, quick-to-make biscuit or scone-like doughs that could be dropped in spoonfuls over a dish of stewed fruit. The result was a dessert that was rustic and hearty. The name “cobbler” itself is shrouded in a bit of folklore. Some food historians believe it comes from the fact that the dessert is “cobbled together” with simple ingredients. Others suggest the bumpy, lumpy appearance of the biscuit topping resembles the cobblestone streets of the era. Either way, the name perfectly captures its unpretentious, handmade charm.
From its humble beginnings, the cobbler has evolved. While early versions might have used wild berries or foraged apples, it quickly became a canvas for any seasonal fruit. Peach cobbler is a beloved classic in the American South, while apple and berry versions are popular across the country. The cherry cobbler recipe, in particular, became a celebratory dish, often made in the summer when cherries were at their peak. Today, thanks to the availability of excellent frozen fruit, we can enjoy this comforting dessert all year long, a sweet reminder of simpler times and resourceful cooking.
Understanding the Flavor Profile
A perfect cherry cobbler is a study in beautiful contrasts. The key to its success lies in balancing distinct tastes and textures to create a harmonious whole. It’s not just a sweet dessert; it’s a complex and satisfying experience for the palate.
The heart of the dish is, of course, the cherry filling. The ideal flavor is a vibrant dance between sweet and tart. Using sour cherries, or a mix of sweet and sour, is crucial. This tartness provides a bright, acidic counterpoint to the sugar, preventing the filling from becoming one-dimensionally sweet. As it bakes, the cherries release their juices, which mingle with the sugar, lemon, and a thickener like cornstarch to create a rich, glossy, ruby-red syrup that coats every single piece of fruit.
Floating atop this sea of vibrant fruit is the biscuit topping. Its flavor profile is buttery, rich, and comforting, with just enough sweetness to qualify as a dessert but not so much that it overpowers the fruit. A pinch of salt in the dough is non-negotiable; it enhances the buttery notes and provides a crucial savory balance. The texture is just as important. The top should be golden brown and slightly crisp, perhaps with a sprinkle of coarse sugar for a delightful crunch. Underneath, where the dough meets the hot fruit, it should be soft, fluffy, and tender, steamed by the bubbling juices into a sublime, cake-like consistency. This dual texture is the hallmark of a truly great cobbler.
Essential Ingredients Explained
Creating a truly memorable cherry cobbler recipe relies on using good-quality ingredients and understanding the role each one plays. This isn't a dish with dozens of components, so every single one has a chance to shine.
- Cherries: The star of the show. If you can find fresh sour cherries (like Morello) during their short season, use them! Their tartness is unparalleled. Otherwise, a combination of fresh sweet cherries (like Bing) with a good amount of lemon juice works well. For year-round ease, high-quality frozen, pitted sour cherries are an excellent, and often preferred, choice. They release a lot of juice, which helps create that perfect syrupy filling.
- Unsalted Butter: Use the best quality you can find, and make sure it is very cold, cut into small cubes. Cold butter is the secret to a tender, flaky biscuit topping. As the butter melts in the oven, it creates small pockets of steam, resulting in a light, airy texture.
- Buttermilk: This is my secret weapon for the most tender, flavorful biscuit topping. Its acidity reacts with the leavening agents (baking powder and baking soda) to create an extra-fluffy lift. It also adds a subtle, pleasant tang that complements the sweet fruit. If you don't have buttermilk, you can make a substitute by adding a tablespoon of lemon juice or white vinegar to a cup of whole milk and letting it sit for 10 minutes.
- All-Purpose Flour: This provides the structure for our biscuit topping. There’s no need for fancy cake flour here; standard all-purpose gives the perfect balance of sturdiness and tenderness.
- Granulated and Demerara Sugar: Granulated sugar is used to sweeten both the filling and the topping. The amount in the filling should be adjusted based on the sweetness of your cherries. I love to sprinkle a little coarse Demerara or turbinado sugar on top of the biscuits before baking. It adds a lovely sparkle and a delightful crunch.
- Cornstarch: This is our thickener. It transforms the beautiful cherry juices from a watery liquid into a luscious, glossy syrup that clings to the fruit. A little goes a long way.
- Lemon: We use both the juice and the zest. The juice's acidity brightens the flavor of the cherries and prevents them from tasting overly sweet, while the zest adds a fragrant, citrusy aroma that perfumes the entire dish.
- Leavening Agents: A combination of baking powder and baking soda provides the best lift for our biscuits, especially when paired with acidic buttermilk. It ensures the topping is light and airy, not dense or heavy.
- Non-Alcoholic Vanilla Extract: A splash of vanilla adds a wonderful warmth and depth of flavor, tying the buttery topping and the fruity filling together beautifully.
Mastering the Technique
While the ingredient list is simple, the magic of a great cherry cobbler is all in the technique. Following these stages will ensure you get that perfect contrast of bubbly, syrupy fruit and a light, golden biscuit topping every single time.
First, we focus on the fruit filling. In a large bowl, we'll combine the cherries, sugar, cornstarch, lemon juice, and zest. This process, known as maceration, does more than just mix the ingredients. Letting the fruit sit for about 15-20 minutes allows the sugar to draw out the natural juices from the cherries. This pre-dissolves the sugar and cornstarch, ensuring a smooth, non-gritty syrup and giving the flavors a head start on mingling before they even hit the oven's heat.
Next comes the biscuit dough. The key here is temperature and a light touch. We start by whisking the dry ingredients together. Then, using a pastry blender or your fingertips, you'll 'cut' the very cold, cubed butter into the flour mixture. The goal is to create a coarse, sandy texture with some pea-sized pieces of butter still visible. These pieces of butter are crucial. As they melt during baking, they'll create steam pockets, which is what makes the biscuits so tender and flaky. The biggest mistake is overworking the butter or letting it get warm.
Once the butter is incorporated, we gently stir in the cold buttermilk. Mix only until the dough just comes together. It will look shaggy and a bit sticky—this is perfect! Over-mixing at this stage develops gluten, which will lead to a tough, dense topping instead of a light, fluffy one. Lumps are not just acceptable; they're a sign you're on the right track.
Now for the assembly. Pour the macerated cherry filling into your baking dish. Then, using a large spoon or an ice cream scoop, drop dollops of the biscuit dough over the fruit. Don't try to spread it into a smooth, even layer. You want to leave gaps between the spoonfuls of dough. This allows steam to escape from the fruit filling as it cooks and lets the vibrant, bubbling juices peek through, creating that classic, rustic "cobbled" appearance.
Finally, the bake. A sprinkle of coarse sugar over the dough before it goes into the oven adds a wonderful crunch and visual appeal. We bake it in a hot oven until the filling is bubbly and thick, and the biscuit topping is deeply golden brown. Let it rest for at least 15-20 minutes before serving. This resting period is vital. It allows the molten-hot syrupy filling to cool down and thicken slightly, ensuring it doesn't run everywhere when you serve your beautiful homemade cherry cobbler.
Common Pitfalls and How to Fix Them
Even a seemingly simple dish like a cherry cobbler can present a few challenges. But don't worry, most common issues are easy to diagnose and even easier to fix. Here’s a guide to troubleshooting your way to the perfect cherry cobbler recipe.
If your filling is watery or runny... This is the most common issue, usually caused by not using enough thickener for the amount of juice your cherries release. To prevent this, make sure you're using the right amount of cornstarch. If you're using particularly juicy fresh cherries, you might need to add an extra teaspoon. Also, allowing the cobbler to rest for a good 20-30 minutes after baking is crucial. The filling thickens considerably as it cools.
If your biscuit topping is tough and dense... The likely culprits are warm ingredients or overworking the dough. Your butter and buttermilk must be fridge-cold. This ensures the butter melts in the oven, not in the mixing bowl, creating steam for a light texture. When you add the buttermilk, mix with a fork or spatula only until the flour is just moistened. A lumpy, shaggy dough is your friend!
If the bottom of the topping seems raw or gooey... This can happen if the biscuit dough is too thick or if you've completely sealed the top, trapping too much steam. Ensure you drop the dough in separate spoonfuls, leaving space for steam to vent. This allows the fruit to bubble up and helps the bottom of the biscuits cook through. Baking on a lower rack for the first half of the cooking time can also help ensure the bottom is properly cooked.
If your cobbler overflows in the oven... This is more of a mess than a disaster! It simply means your baking dish was a bit too small for the volume of filling and the rise of the topping. Always bake your cobbler on a foil-lined baking sheet to catch any potential spills. As a rule of thumb, only fill your baking dish about two-thirds full with the fruit mixture before adding the topping.
If the topping is browning too quickly... Ovens can have hot spots, and sometimes the top of the cobbler gets perfectly golden before the fruit filling is properly cooked and bubbly. If you notice this happening, simply tent the baking dish loosely with a piece of aluminum foil for the remainder of the baking time. This will protect the top from burning while allowing the filling to finish cooking.
Regional Twists Worth Trying
One of the most beautiful things about a classic like this cherry cobbler recipe is its adaptability. It’s a wonderful base for experimentation. Once you've mastered the classic version, you can start exploring variations inspired by different flavor profiles and traditions.
- A Touch of Mediterranean Warmth: For a flavor that nods to my own culinary heritage, try adding a whisper of orange blossom water to the cherry filling along with the vanilla. You can also swap the lemon zest for orange zest. To the biscuit topping, add a pinch of finely ground cardamom. This adds a fragrant, slightly floral, and warm spice note that is absolutely divine with cherries.
- Nutty and Textured: Incorporate some crunch and nutty depth by adding about a half-cup of roughly chopped, toasted nuts to the dry ingredients for the biscuit topping. Toasted pecans or slivered almonds are particularly wonderful. They add a fantastic textural contrast to the soft fruit and tender biscuit.
- Spiced Cherry Filling: If you enjoy warmer spice notes, consider adding a quarter-teaspoon of cinnamon and a tiny pinch of ground cloves or allspice to the cherry filling mixture. This creates a cozier, more autumnal-feeling cherry cobbler that is incredibly comforting on a cool evening.
- Cornmeal Biscuit Topping: For a slightly more rustic, Southern-style twist, replace about one-quarter of the all-purpose flour in the biscuit topping with fine-ground cornmeal. This will give the topping a slightly coarser, yet very pleasant, texture and a lovely golden hue. It adds a wholesome, country-style feel to the finished dessert.
The Perfect Spread
While a spectacular cherry cobbler can certainly stand alone, serving it as part of a well-considered spread elevates it from a simple dessert to a memorable event. The key is to choose accompaniments that complement its flavors and textures without overshadowing them.
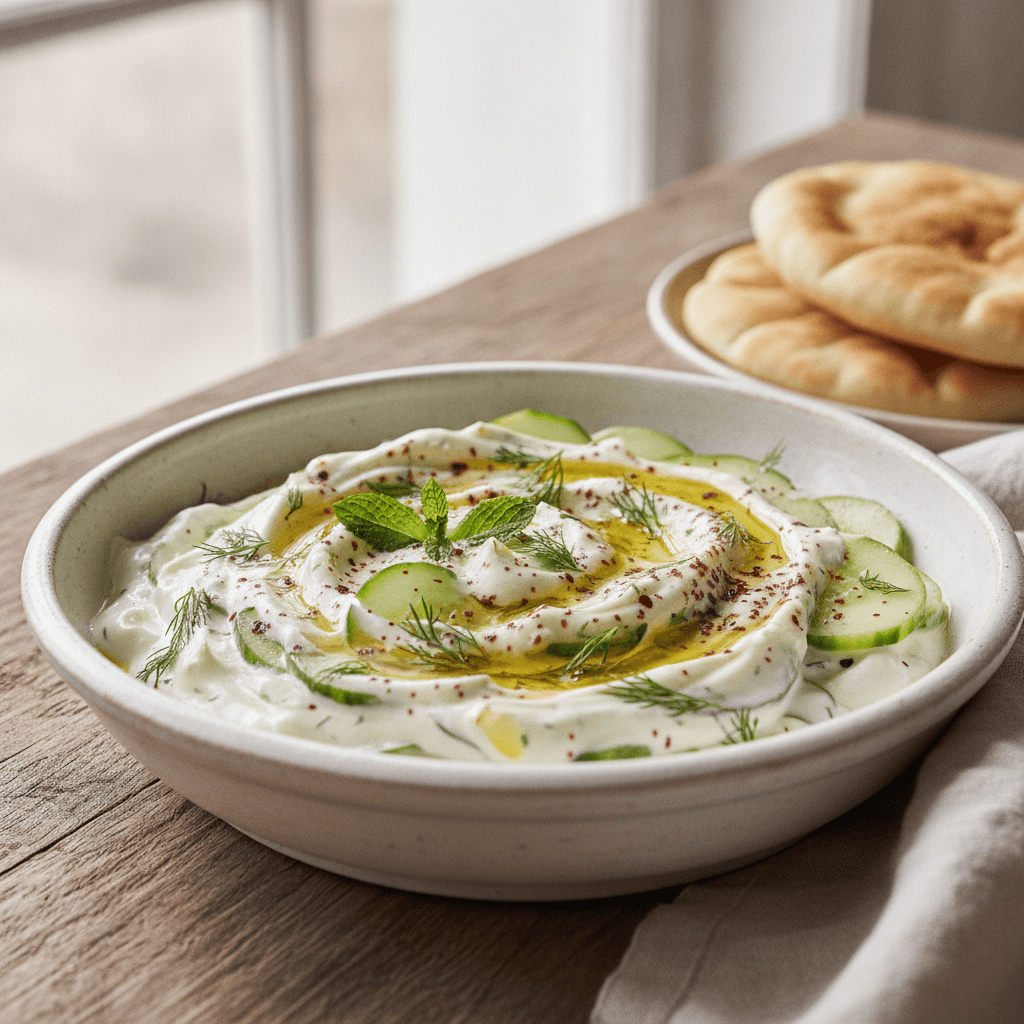
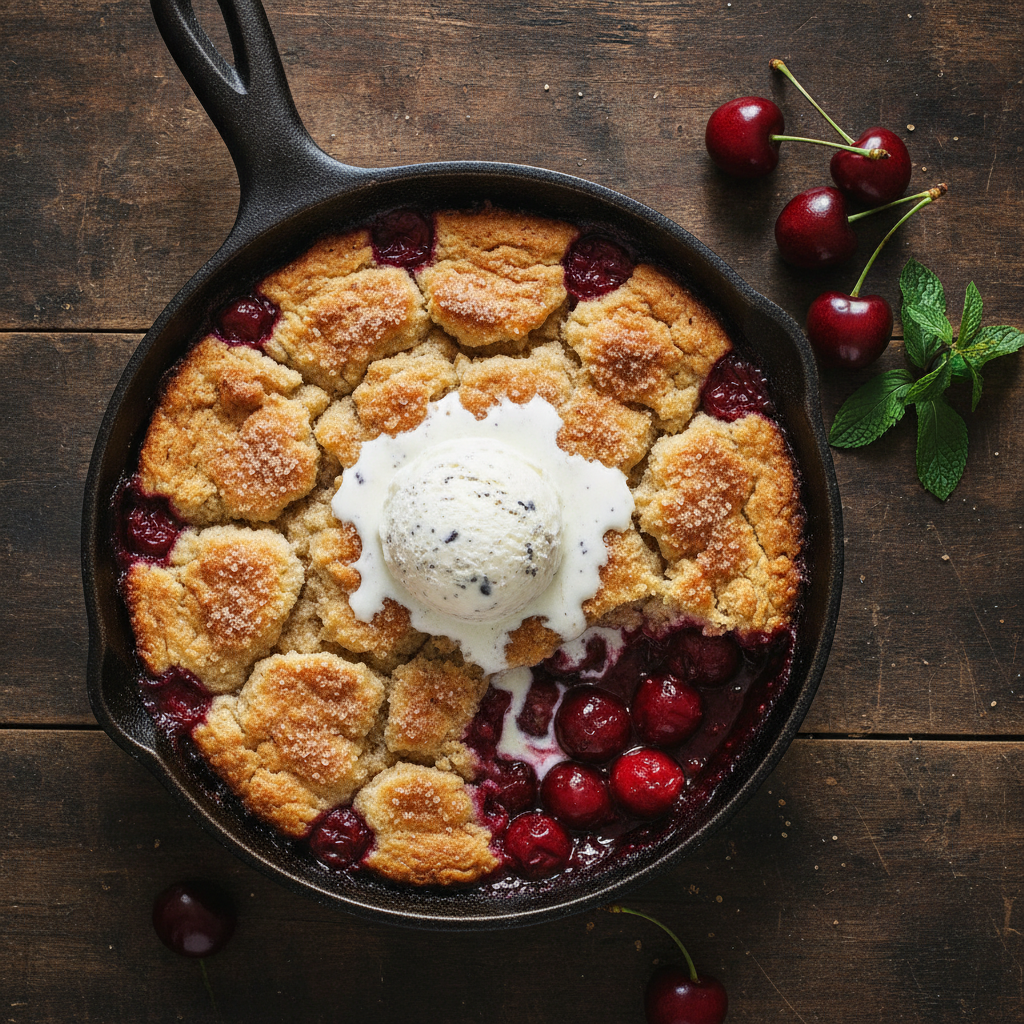
The most classic and beloved pairing is, without a doubt, a scoop of something cold and creamy. A high-quality vanilla bean ice cream is the perfect partner, as the cold cream melts into the warm, syrupy fruit. For a tangy alternative that cuts through the richness beautifully, I often opt for a dollop of thick, unsweetened Greek yogurt or even a spoonful of labneh. The slight sourness is a wonderful contrast to the sweet filling.
For beverages, simplicity is best. A freshly brewed pot of strong black tea, perhaps infused with a few sprigs of fresh mint, is a perfect palate cleanser. A simple herbal infusion, like chamomile or lemon verbena, also works wonderfully. The idea is to have something warm and comforting to sip alongside the warm and comforting dessert.
When presenting the meal, think about balance. The cherry cobbler is rich, sweet, and soft. If it’s following a main course, make sure that meal was not overly heavy. A simple grilled chicken or fish with fresh salads and grains would be a perfect lead-in, leaving everyone with just enough room to truly savor this incredible dessert.
Keeping and Reheating
A freshly baked cherry cobbler, served warm from the oven, is truly one of life’s great pleasures. The contrast between the hot, bubbly fruit and the crisp-tender topping is at its absolute peak. However, leftovers are also a delight, provided you store and reheat them correctly.
Cobbler is best stored right in its baking dish. Once it has cooled completely to room temperature, cover it loosely with aluminum foil. You can leave it on the counter for up to two days. For longer storage, you can place the covered dish in the refrigerator for up to four or five days. Keep in mind that as it sits, the biscuit topping will absorb some of the moisture from the fruit and will soften over time.
When it comes to reheating, the oven is your best friend. It helps to revive the texture of the biscuit topping, making it tender on the inside and slightly crisp on the outside again. Preheat your oven to 350°F (175°C). Place the uncovered cobbler in the oven and heat for about 15-20 minutes, or until the filling is bubbly and everything is warmed through. If the top starts to brown too much, you can tent it with foil.
While you can reheat individual portions in the microwave in a pinch, be aware that it will not re-crisp the topping. The result will be softer and more cake-like, which is still delicious, just a different textural experience.
Your Questions Answered
Can I make this cherry cobbler recipe ahead of time?
For the absolute best texture, a cobbler is best baked just before you plan to serve it. However, you can absolutely do some prep in advance to make things easier. You can prepare the cherry filling and store it in an airtight container in the refrigerator for up to a day. You can also mix the dry ingredients for the biscuit topping and store them at room temperature. When you're ready to bake, simply pour the filling into your dish and mix the buttermilk into your dry ingredients to form the topping.
Can I use different fruits in this recipe?
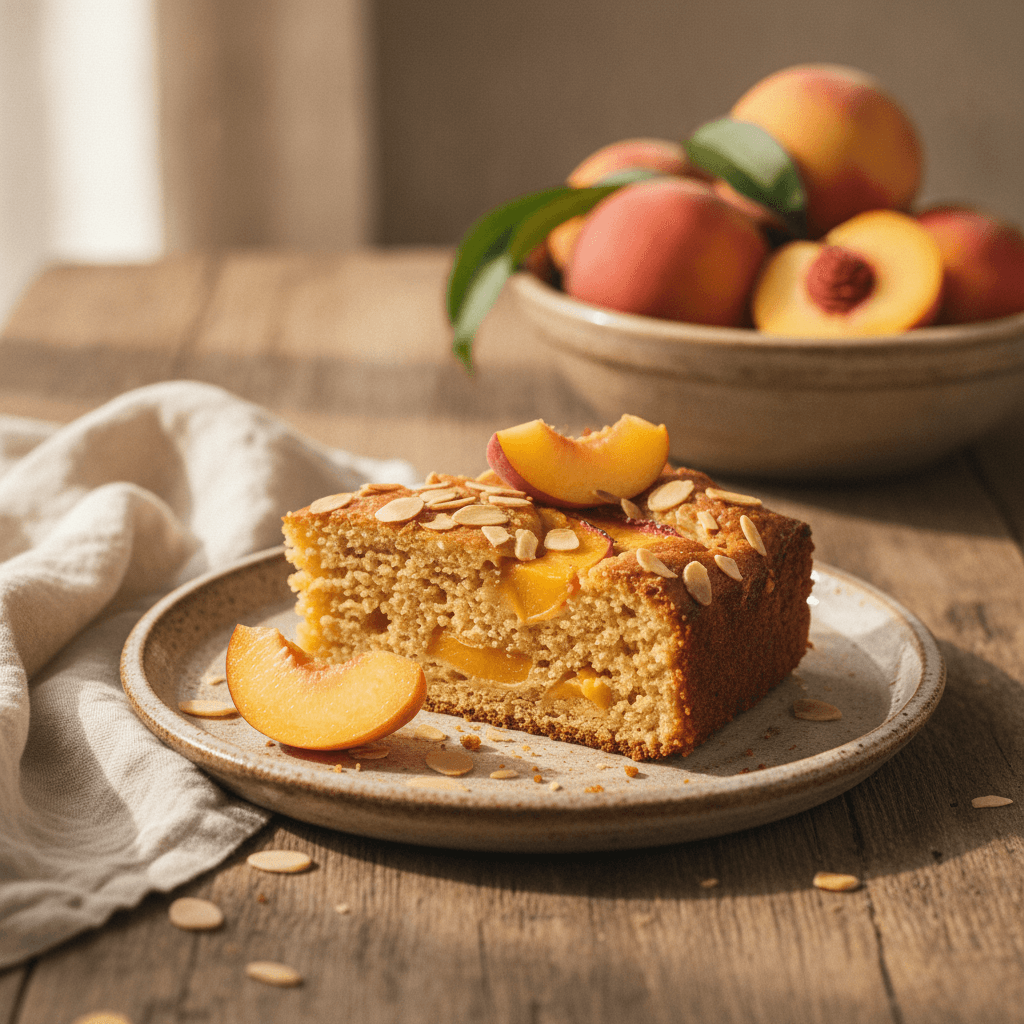
Yes, absolutely! This is a fantastic base recipe for all kinds of fruit cobblers. Peaches, nectarines, plums, apples, pears, and mixed berries all work beautifully. You may need to adjust the amount of sugar and cornstarch depending on the sweetness and juiciness of the fruit you choose. For example, very juicy fruits like peaches might need a little extra cornstarch.
I don't have buttermilk. Is there a good substitute?
Yes, there's a very reliable and simple substitute. For every one cup of buttermilk called for in a recipe, you can use one cup of regular milk (whole milk works best) mixed with one tablespoon of either lemon juice or white vinegar. Stir them together and let the mixture sit for about 5-10 minutes. It will start to curdle slightly, and this acidic mixture will function just like buttermilk in your recipe, ensuring a tender biscuit.
How do I scale this recipe for a large family gathering?
This recipe is easy to scale up. To double it, simply double all the ingredients and bake it in a larger 9x13 inch (23x33 cm) baking dish. The baking time will likely need to be increased by about 10-15 minutes. Just keep an eye on it—you're looking for the same visual cues: a deeply golden brown topping and a thick, bubbly filling all the way to the center.
Is it possible to make this cherry cobbler gluten-free?
Yes, you can adapt this recipe to be gluten-free with good results. I recommend using a high-quality, measure-for-measure (or 1-to-1) gluten-free all-purpose flour blend that contains xanthan gum. You can substitute it directly for the all-purpose flour in the biscuit topping. The texture will be slightly different—a little more dense and cake-like—but it will still be incredibly delicious.
The Ultimate Cherry Cobbler Recipe
A classic, comforting dessert featuring a bubbling, sweet-tart cherry filling under a blanket of soft, buttery biscuit topping. Perfect for any occasion.
Prep Time
20 min
Cook Time
40 min
Total Time
1h
Servings
8 servings
Ingredients
For 8 servings
- For the Cherry Filling:
- 6 cups frozen pitted sour cherries (about 30 oz or 850g), do not thaw
- 3/4 cup granulated sugar (adjust based on cherry sweetness)
- 1/4 cup cornstarch
- 1 tablespoon fresh lemon juice
- 1 teaspoon finely grated lemon zest
- 1/2 teaspoon non-alcoholic vanilla extract
- 1/4 teaspoon salt
- For the Biscuit Topping:
- 2 cups all-purpose flour
- 1/4 cup granulated sugar
- 2 teaspoons baking powder
- 1/2 teaspoon baking soda
- 1/2 teaspoon salt
- 1/2 cup (1 stick or 113g) cold unsalted butter, cut into 1/2-inch cubes
- 1 cup cold buttermilk
- 1 tablespoon demerara or turbinado sugar, for sprinkling
Instructions
- 1
Preheat and Prepare Dish
Arrange a rack in the center of your oven and preheat to 400°F (200°C). Lightly butter a 2.5 to 3-quart baking dish or a 10-inch cast-iron skillet.
- 2
Make the Cherry Filling
In a large bowl, combine the frozen cherries, 3/4 cup granulated sugar, cornstarch, lemon juice, lemon zest, vanilla extract, and 1/4 teaspoon salt. Stir until the cherries are evenly coated.
- 3
Let the Filling Macerate
Pour the cherry mixture into your prepared baking dish and spread it into an even layer. Set it aside while you prepare the biscuit topping. This allows the juices to start releasing.
- 4
Mix Dry Ingredients
In a separate medium bowl, whisk together the all-purpose flour, 1/4 cup granulated sugar, baking powder, baking soda, and 1/2 teaspoon salt. This ensures the leavening agents are evenly distributed.
- 5
Cut in the Cold Butter
Add the cold, cubed butter to the flour mixture. Using a pastry blender or your fingertips, quickly cut the butter into the flour until the mixture resembles coarse crumbs with some pea-sized pieces of butter still visible.
- 6
Add Buttermilk to Form Dough
Pour the cold buttermilk over the flour and butter mixture. Use a fork or spatula to gently stir until just combined. Do not overmix; the dough should be shaggy and slightly sticky.
- 7
Assemble the Cobbler
Using a large spoon or a 1/4-cup measure, drop spoonfuls of the biscuit dough over the cherry filling. Leave some space between the dollops to allow steam to escape and for a rustic look.
- 8
Add Topping and Bake
Sprinkle the top of the biscuit dough evenly with the demerara sugar. Place the baking dish on a foil-lined baking sheet to catch any drips and bake for 20 minutes at 400°F (200°C).
- 9
Reduce Heat and Finish Baking
After 20 minutes, reduce the oven temperature to 375°F (190°C). Continue to bake for another 15-20 minutes, or until the biscuit topping is deeply golden brown and the cherry filling is thick and bubbling vigorously around the edges.
- 10
Rest Before Serving
Carefully remove the cobbler from the oven and place it on a wire rack to cool for at least 20-30 minutes before serving. This resting period is crucial as it allows the filling to set and thicken.
- 11
Serve and Enjoy
Serve the cherry cobbler warm, either on its own or with a scoop of vanilla ice cream or a dollop of thick Greek yogurt.
Nutrition Facts
Per serving (estimated)
410 calories
Calories
75g
Carbs
6g
Protein
12g
Fat
4g
Fiber
450mg
Sodium
45g
Sugar